Fast and Easy Luminary Setup/Teardown Tips
It's a chilly fall day and you know you should have setup your luminaries the week before when the weather was warm. I can't step you back in time to make your install happen on a better day, but I can walk you through the steps to make it go fast and also show you a great tip for easy setups and tear downs to follow.
Personally, I always use Steps 7 and 9 most years because of weather and ease!
SETUP / TEAR DOWN
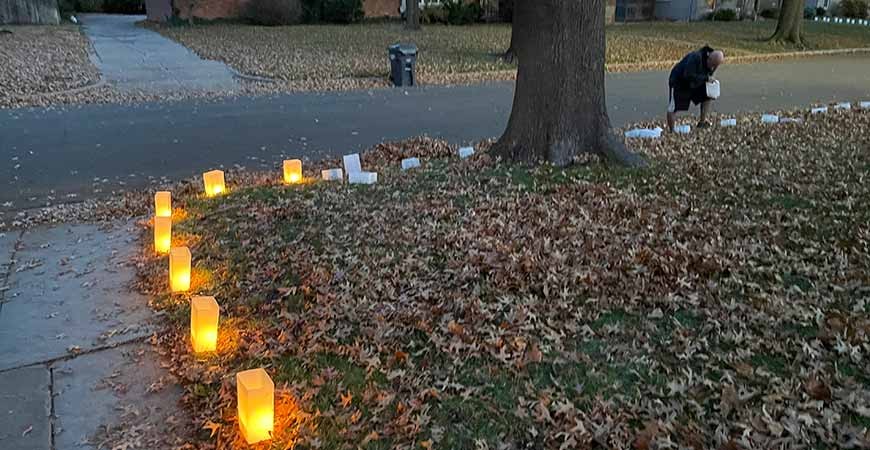
1. If you are using a light string, lay it out along the path you want your luminaries. Make sure the male plug end is at the right end you want to plug it in. If you have more than one light string, you can lay the others down (one after the other) but do not plug them into each other yet.
2. Lay out luminaries, one near each socket. If you want your luminaries to drain water, make sure the drain holes are punched out in the bottom of each luminary (4 holes in each luminary). Make sure you put the front of the luminary in the direction you prefer. Usually the front luminaries go outward toward the street. The luminary backside is with the vertical strip going through the center.
3. Connect the luminaries with your first light string by screwing in the bulbs. Make sure you have NO POWER on the light string! This helps protect you from being shocked and also prevents you from blowing a fuse in your light strings. When done here, you should have your first set connected, with bulbs inside, and your luminaries are still laying down on the ground.
4. Plug your first light string in and see if all luminaries are lit. If you have any bulbs not lit, unplug the string and reinstall the bulb or bulbs and try the power again. When all bulbs are lit, you can go to the next step.
5. Stake down your luminaries (while having no power on the string). Start at the power end of the plug, and go from luminary to luminary. It is best to not pull the string too tight!
6. After your first set of luminaries are installed, turn the power off and continue with the next set, using the instructions above. Do not shortcut these steps! It is important to have the power off during setup and only use power to test each string when done.
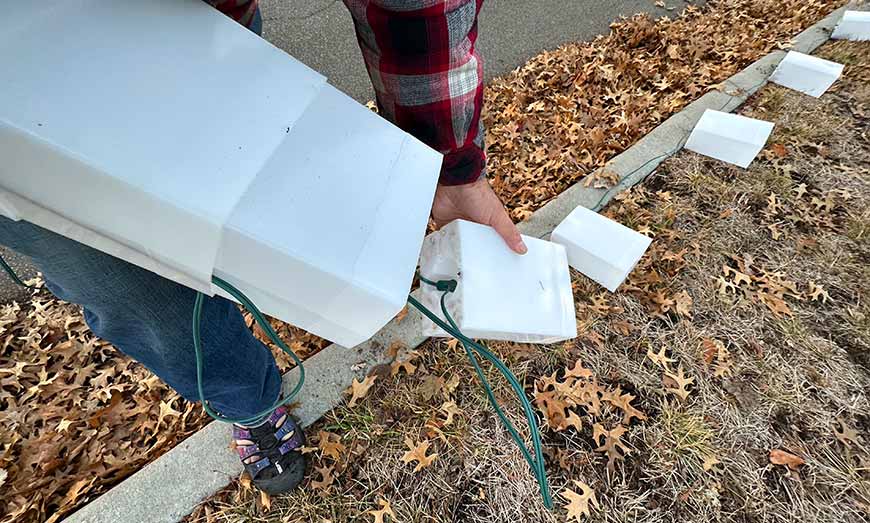
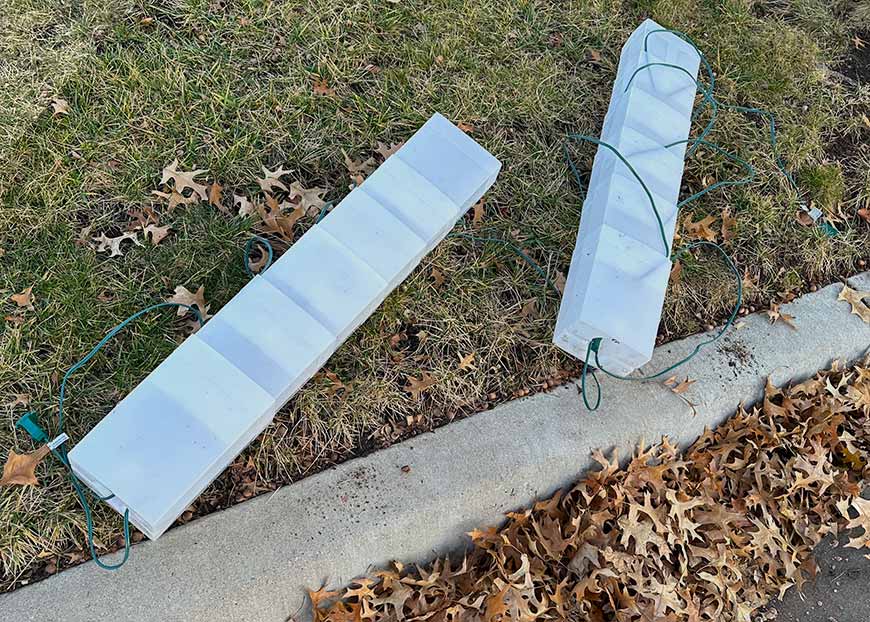
7. If the weather is nasty and you prefer to do most of the setup indoors... you can separate your luminaries and install the light strings with the bulbs indoors. Test them indoors. If you have a Set of 12 luminaries, with the power off, stack the luminaries in two sets of 6. The two sets will be tethered with your light sting in between. This makes it easy to carry them out and set them up quickly outside. If it is a Set of 6 luminaries, stack together all 6.
8. When you tear down your luminaries, you can follow the above steps and completely disassemble your luminaries. Then it's a good idea to clean them with soap and water before storing. An easy way to clean is to use a 5-gallon bucket of hot soapy water. Use a brush, like a dish cleaning brush or toilet brush. You may want to keep a brush and bucket dedicated to this step every year.
9. If you desire to make your life easier next year, don't completely tear down your luminaries. Just remove the stakes. Then stack your luminaries together with the light string (and bulbs) still attached. Stack in sets of 6 so you can carry and store them easily. By doing this step, you will save yourself a lot of time and effort next time!
Leave a CommentLeave a Reply
Latest Comments
-
Melissa Hernandez
on FLIC atop Parks Legado Shopping Center! -
Donna Parsons
on Have A Successful Luminary Fundraiser -
Thom Mullins
on Have A Successful Luminary Fundraiser -
Carol Billings
on FLIC Luminaries, Mardi Gras, and House Floats!

