

Halloween Pumpkin Carving 101
First, let me start by letting you know I haven't carved a pumpkin in 40 years! I thought it might be more helpful to read the experiences of a novice carver in comparison to a professional pumpkin carver because I will find the common mistakes often made by those lacking experience.
Before going further, I suggest you consider the safety issue. Carving a pumpkin requires using sharp tools, and if you are not experienced cutting and carving through pumpkins it is quite possible you could cut yourself. So before starting, make sure you have bandages and something like bacterial soaps and wipes before continuing. Place these items beside some paper towels that should be close by so you are ready if you have an accident. Not doing so will mean the possibility of also having to deal with a mess while you hunt these items down with the use of only one hand.
I'm guessing I may have given some readers an early Halloween fright, sorry about that! It is just better to be safe than sorry.
The key to pumpkin carving safety is to have the right tools for the job. If you don't feel like you have control of your tools, find other tools to use. Another key factor is to not be in a hurry. Realize it will probably take you a minimum of 1 hour, and depending on the level of detail in your design, it can take several hours. Give yourself time. One last thing, carving pumpkins is a nice social activity, but make sure everyone stays focused when using sharp tools. There is nothing wrong with having a glass of nice wine during your project, but don't overdo it! The key is to have a clear mind and a razor sharp focus during your project. You can always celebrate AFTER all the pumpkins are carved!
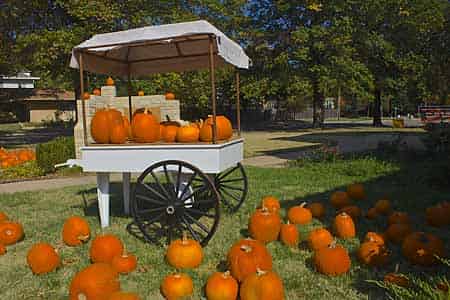
1. Picking your pumpkin. There are many things to consider before selecting your pumpkin. Think about where the pumpkin will go and what size would best fit the job. Size matters! Think ahead and imagine your finished design... should the pumpkin be perfectly shaped with no scars? Depending on your vision of your finished pumpkin scars can be a plus or a minus.
2. Wash your pumpkin. There are safety concerns with all produce. It is a known fact that many produce items you buy from the market contain unfriendly bacteria that can cause illness. So start your project by washing your pumpkin with a soap that also kills bacteria. After washing your pumpkin, wash your hands so you know you are no longer caring harmful bacteria.
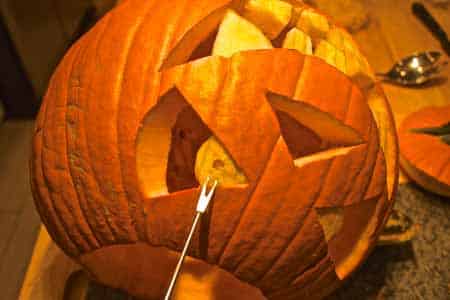
3. Track down your cutting/carving tools. There are tools available that are specifically for pumpkin carving. I'm talking most about scrapers. You will need a tool to scrape out the soft inner mush. Typically, it is best that your scraper doesn't have a long handle because it is hard to get inside and work with a tool that is too big for the job. In my example, I didn't have a good scraper so I did use a salad serving fork and pot stirring spoon for the job without any problems... so you can try what works best for you. You will also need a cutting knife to cut the pumpkin opening at the top and to cut through the side for your facial features. I found a great tool for that... a small, pointy knife with small cutting teeth on the blade. Cutting teeth give you the option to saw which is really helpful for precision because you can saw and be precise. I highly recommend a tool like what I used.
4. Pick your working area. I'm fortunate to have a small island in my kitchen with good overhead lighting. The height is great for standing comfortably over my project to perform pumpkin surgery. Good lighting helps you keep the details in focus and is always a good idea when using sharp tools.
5. Make a design plan. I'm glad I remembered back 40 years ago and my mistake of just jumping into the carving process without a plan. This is an easy way to spend a lot of time and energy and end up with unsatisfactory results. If you want ideas on designs, there are books available, also free sources. Type in "pumpkin carving" in Google and click on their images link. Don't forget to consider your light source now, too. Do you have your light source at home, or will you have to go shopping?
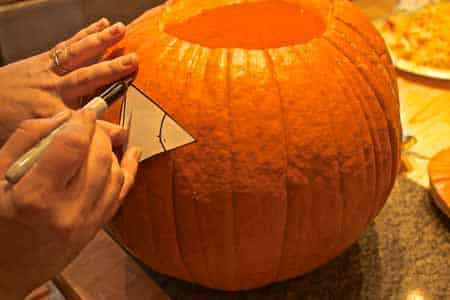
6. Make stensils. I'm not an artist so I didn't want to sketch out (freehand) directly on my pumpkin with a magic marker. I felt more comfortable sketching on paper (or you can print what you find online). In my example, I sketched the facial features on paper, cut them out and then used them as an outline stensil. Once I had the stensils ready, I held them up to my pumpkin and drew the outline of all my features directly on the pumpkin.
7. Cut out the top and start hollowing. I did this before drawing my facial outlines and later realized it is best to draw your face on first. Cutting out the top first can limit the placement of your face (the most important aspect), so place your face first, THEN decide the hole cutout on top.
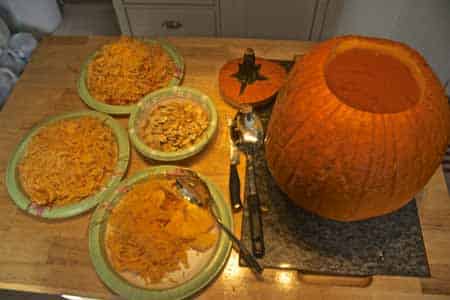
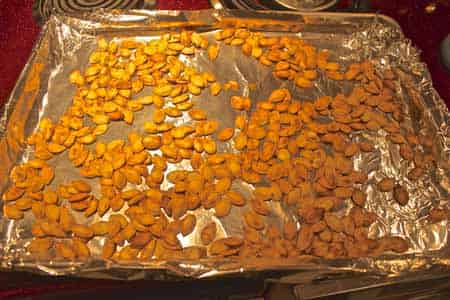
8. Save your scraps. Why waste your pumpkin scraps? Pumpkin is part of the squash family. They are not only tasty to eat, but nutritious as well. Pumpkins are rich in Vitamin A and also contain Vitamin C, Citamin B-6, Iron, Magnesium, Calcium and Potassium. Pumpkins have no cholesterol, low in sodium, and are loaded with fiber! Eating pumpkin is good for your digestive system, helps you build immunities to fight illness and can even help prevent disease. I will show you what to do with all of the scraps from your pumpkin later on.
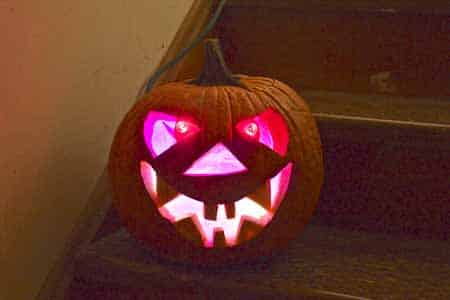
9. Your only limitation is your creativity! In my case, as you can see, I am limited by my lack of creativity. But that doesn't mean you will be, too. You may want to have more than one pumpkin available just in case you are not satisfied with your first carving. Or you may want to practice carving techniques on a practice pumpkin before you start in on the pumpkin you hope will be your winner.
10. Review your finished pumpkin and refine it. When you are nearing completion, clean up all the little areas of your pumpkin. Use your tools and improve your edges. You might even extend some of your edges to improve the look by carving out a bit more.
11. Start cooking! It is time to cook off your pumpkin scraps. You can find many free recipes online. I, first, cleaned my seeds, boiled them briefly in slightly salted water (for 10 minutes), drained and wiped them partially dry with a paper towel, then put them back in the pot and stirred in a touch of olive oil. Once they were all slightly covered with a film of olive oil I put them on a flat pan and baked them until they reached the brown level I prefer (everyone has their own taste). There are many ways to cook the pumpkin mushy filling. Bake or boil? I put my fleshy parts in a pot, added a bit of water and butter and cooked mine until totally soft. I, then, refrigerated it and will later blend them to reduce the last bit of fiber texture. The blended pumpkin is great in pies or as a base in pumpkin soup. The taste is divine and you can add this ingredient into just about anything. Pumpkin lasagne maybe?
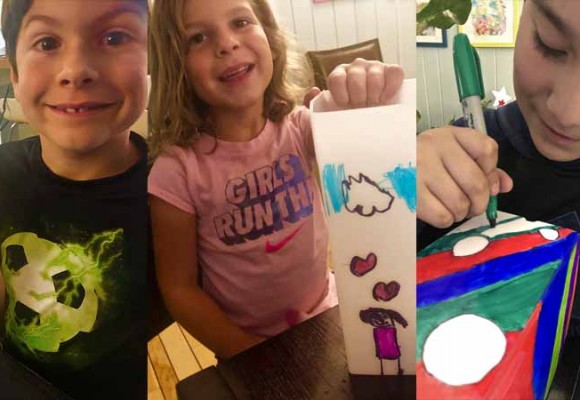
If you are carving your pumpkin with children you should consider the entire experience as an educational moment for your kids. This is a great time to show them how to safely handle sharp tools. This is a great project to let them be creative and develop their creative instincts. If you cook off the scraps you give them a lesson in thoughtfully using materials for their full potential, a frugal concept that all children should learn before maturing to adulthood.
Related articles
Have A Successful Luminary Fundraiser
The "how to" guide for having a fun, easy, lucrative luminary fundraiser.
Leave a CommentLeave a Reply
Latest Comments
-

Melissa Hernandez
on FLIC atop Parks Legado Shopping Center! -

Donna Parsons
on Have A Successful Luminary Fundraiser -

Thom Mullins
on Have A Successful Luminary Fundraiser -

Carol Billings
on FLIC Luminaries, Mardi Gras, and House Floats!